
Feed Silo and Automatic Chicken Feeding Operation Guide
Introduction to the Feed Silo

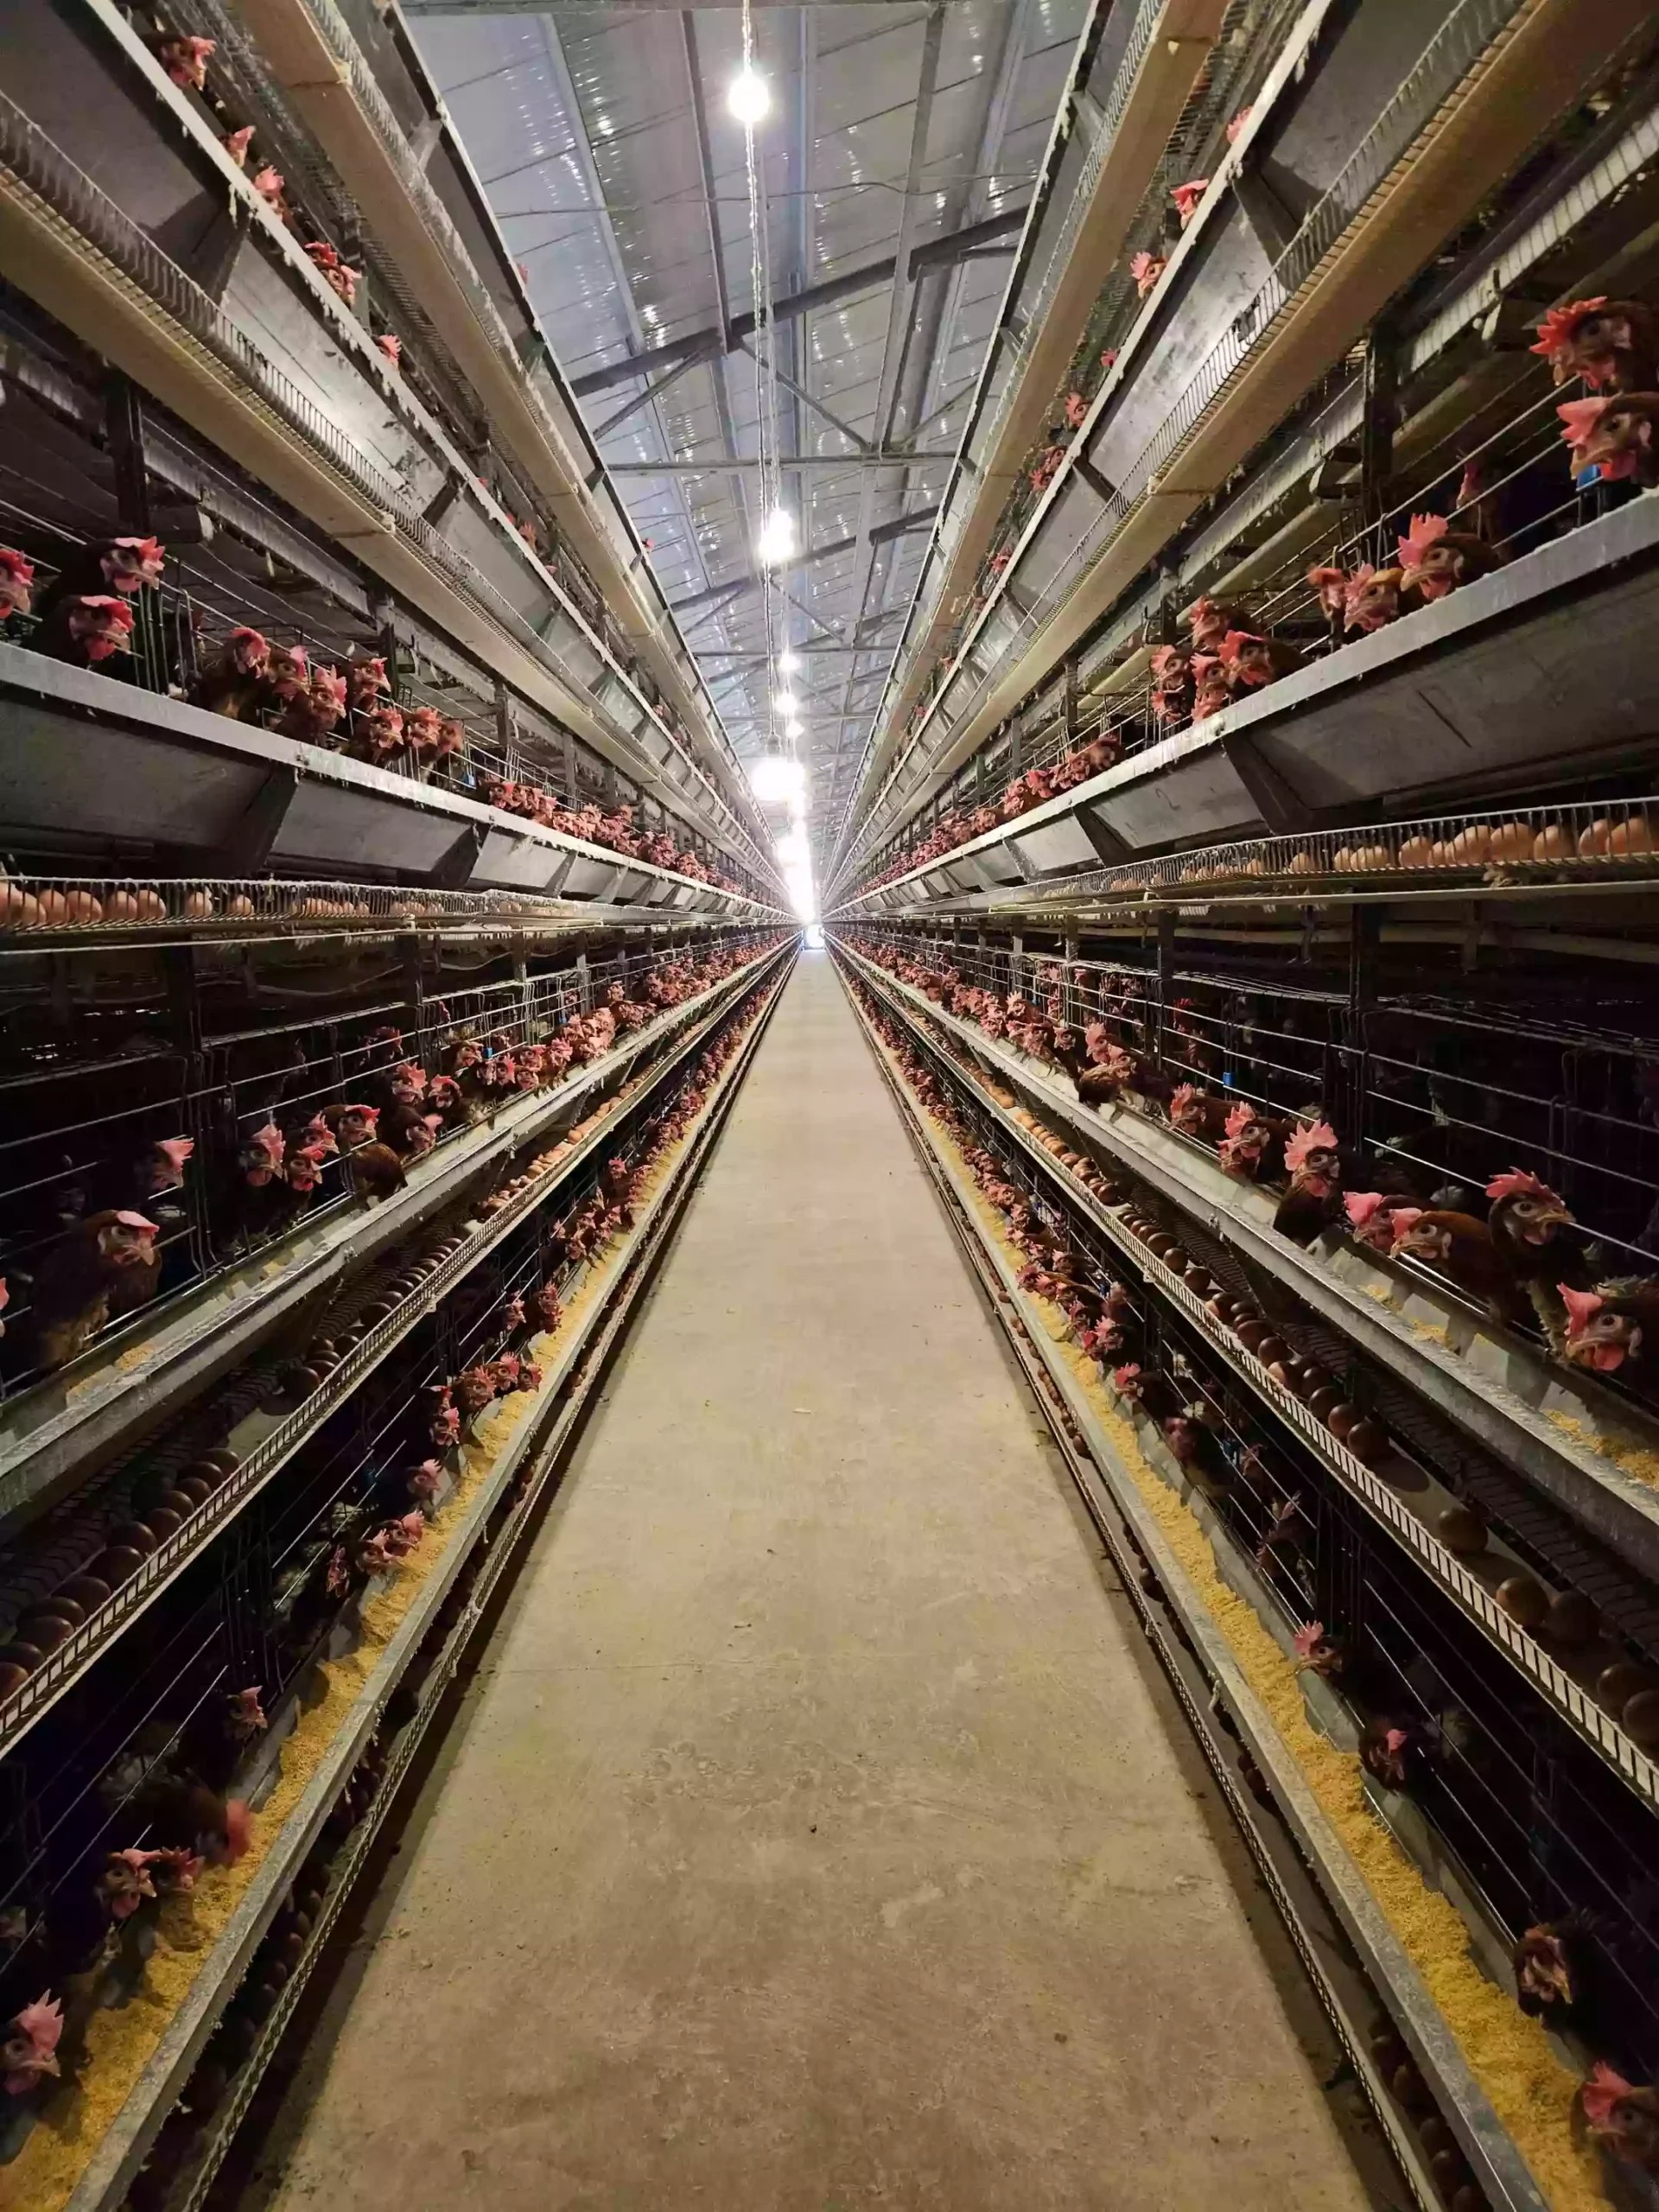
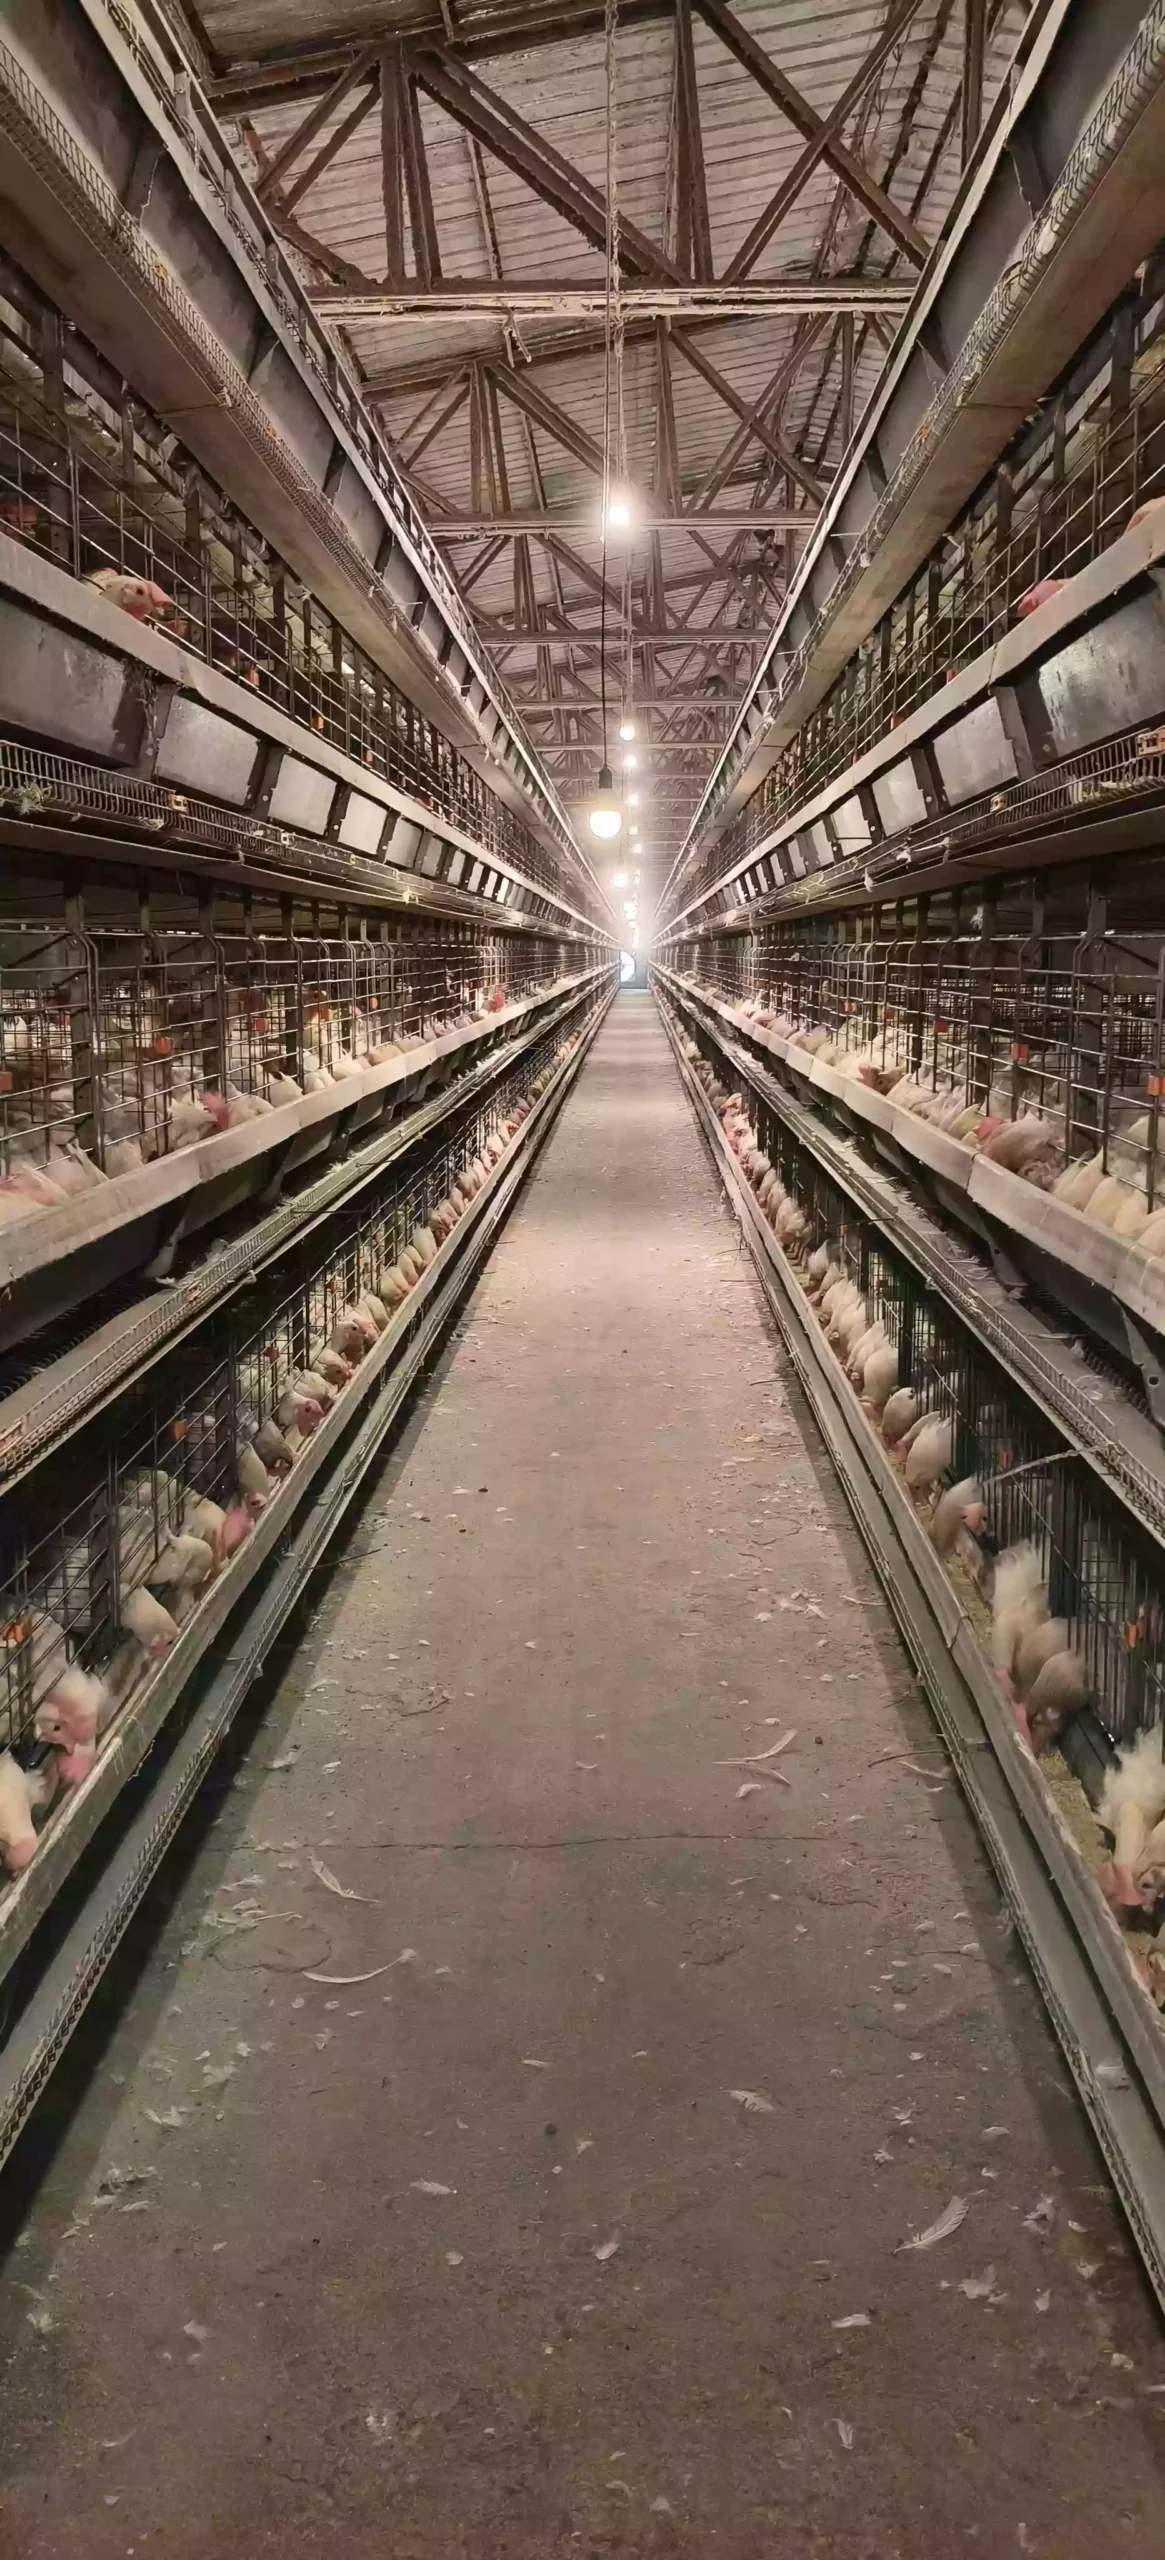
The finished feed storage bin, commonly called a feed silo or feed bin, primarily serves as a short-term storage and transfer unit within the automatic chicken feeding system. We commonly offer two models: 17-ton and 22-ton capacities. The 17-ton silo has a smaller diameter but greater height, while the 22-ton model has a larger diameter and a lower profile. The choice of silo size should be based on your specific feed consumption needs and the physical constraints of your farm site.
I. Initial Startup of the Auto Feeding System
Before the first operation, please note the following:
- Inspect the PVC feed delivery pipe for straightness and any obstructions that could jam the feed cart. Ensure all pipe joints and hanging supports are securely fastened. Check that outdoor pipe connections are properly sealed.
- When starting the horizontal/cross feed motor, verify its rotation direction (observed from the motor’s cooling fan end, it should rotate clockwise).
- Close the silo discharge outlet and run the system empty for 2-3 minutes. This helps clear any burrs or debris from the auger or pipe openings. Noise during empty operation is normal due to direct auger-to-pipe contact.

II. Key Operational Notes for the Auto Feeding System
- Prohibit prolonged dry running (without feed) of the system to prevent accelerated wear on components.
- Strictly prohibit introducing solid objects longer or wider than 2cm into the feed line, as they can damage the auger or burn out the motor.
- Empty the feed silo completely at least once per week (a rubber mallet can be used to tap the silo’s bottom). This prevents feed from caking and molding inside, which could impact flock health.
- When the poultry house is empty, ensure the silo, feed lines, and feeders are all cleared of residual feed.
- When filling the silo with a feed truck, ensure the truck’s delivery pipe does not contact the silo body. Contact can compromise the silo’s seal and potentially cause damage over time.
III. Maintenance and Servicing

- Each time the silo is emptied, check its overall seal, especially during rainy seasons.
- Regularly inspect bearings in the drive assembly and grease them promptly as needed.
- After each flock is sold, disassemble the auger coupling, clean accumulated dust from the shaft, and check the condition of the sealing gasket. Replace if worn. (Caution: Beware of auger spring-back during disassembly/assembly to prevent injury).
- Check the auger for stretching and adjust the tension accordingly.
- Auger Repair: Wear personal protective equipment. If cutting the auger, bevel the cut end. When welding sections, ensure an overlap of at least 20cm. All weld points must be ground smooth after welding to prevent wear on the feed pipe. Electrical component failures are inevitable; keeping a spare feed line motor on hand is recommended to avoid operational downtime.