

The Critical Role of Brooding Management in Poultry Production
The brooding stage is crucial in poultry farming. The quality of brooding not only impacts chick survival rates but also affects future laying performance. Therefore, strict control during the brooding phase is essential.
1. Selecting High-Quality Chicks
Choosing high-quality chicks is fundamental to successful brooding. Opt for robust, healthy chicks from reputable large-scale hatcheries, culling any weak ones. Healthy chicks have clean, soft, and glossy down, with well-absorbed yolk sacs and clean, tightly closed navels. They exhibit high vitality, clear chirping, alert eyes, and steady standing/walking without wobbling. Chicks not meeting these criteria should be culled.
2. Preparations Before Chick Arrival
Prior to chick arrival, thoroughly clean and wash the brooder house and cages to eliminate all contaminants, followed by comprehensive disinfection. First, spray disinfect with a 2% caustic soda solution. Then, place all cage equipment and utensils inside the brooder house, seal doors and windows tightly, and fumigate with formalin (14 mL formalin solution and 7 g potassium permanganate per cubic meter). Pour the formalin into a non-metallic container before adding potassium permanganate; disinfectant vapor will be produced—personnel must exit immediately. Maintain house temperature around 20°C and humidity at 70% during fumigation for optimal effect. After 24–48 hours, ventilate the house. Preheat and raise the temperature 1–2 days before chick arrival.
3. Timely Watering and Feeding After Arrival
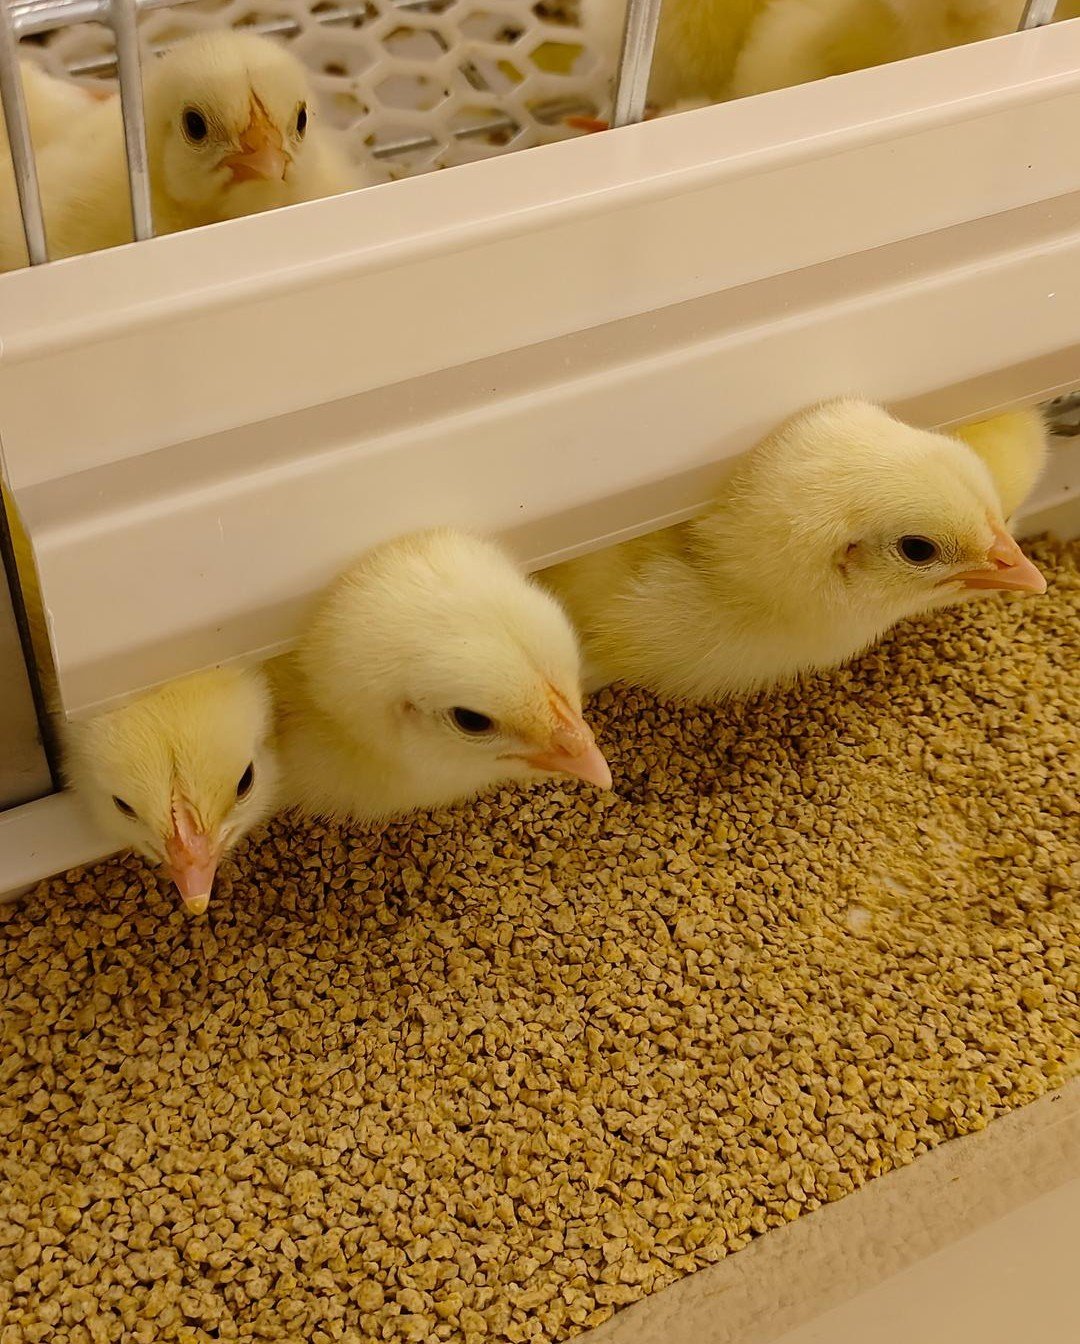
Shortly after entering the house, chicks should rest briefly before initial watering. Start with warm water containing 5% electrolyte multivitamins (or vitamin C) and 10% glucose to promote residual yolk absorption. Observe closely; if any chick fails to drink, manually assist it. Ensuring every chick drinks is a vital step for growth. Antibiotics may be added to the water to prevent diseases like pullorum. After 7–10 days, switch to warm water. 1–2 hours after adequate drinking, begin feeding by spreading feed evenly on trays so all chicks can eat. Feed little and often: 5–6 times daily for weeks 1–2, 4–5 times for weeks 3–4, and 3–4 times after week 5. If antibiotics aren’t added to water, include 0.2% oxytetracycline in feed to prevent pullorum.
4. Controlling Lighting
Proper lighting duration encourages chick activity, facilitates feeding and drinking, and promotes early sexual maturity. Generally, provide 22 hours of light for the first 3 days and 21 hours for days 4–7, helping chicks acclimate quickly, stimulating feeding/drinking, increasing activity, promoting muscle and bone development, preventing disease, and enhancing productivity. Thereafter, reduce light by 1 hour daily until around 21 days, when 8 hours of light or natural light is adopted. Light intensity is typically 30–50 lux.
5. Maintaining Suitable Brooder House Temperature
Chicks have poor self-thermoregulation, so brooding temperature must be carefully managed. Typically, maintain 32–35°C in week 1, reducing by 2°C weekly until reaching 22°C after 4 weeks. Temperature suitability should be assessed not only by thermometer but also by observing chick behavior: if chicks pant with beaks open and drink excessively, temperature is too high—reduce it; if they huddle together, shrink necks/arch backs, and seek heat sources, temperature is too low—increase it; if distributed evenly, drinking/feeding normally, and resting quietly, temperature is suitable.
6. Ensuring Ventilation and Appropriate Humidity
Ventilation helps remove harmful gases, renew fresh air, and reduce humidity, so the brooder house should be ventilated regularly to maintain suitable humidity. In winter, avoid ventilating during cold mornings/evenings; prevent airflow from directly hitting chicks, especially during the first week—increase ventilation gradually after week 1. Maintain humidity at 70–75% in week 1, reduce to 65% in week 2, and aim for 55–60% thereafter. Excess humidity allows pathogens to survive, potentially triggering coccidiosis or aspergillosis; overly low humidity dries out chicks’ down, causes shriveled toes/overdrinking, and dust can lead to respiratory issues. Adjust humidity by ventilating at midday to remove ammonia and other harmful gases.
7. Appropriate Stocking Density
Uneven growth can lead to size variations, causing bullying (e.g., feather pecking) by stronger/larger chicks. Grouping after week 1 is advisable, based on house area, ventilation, and rearing methods. Density can be lower in winter and higher in summer. For layers aged 0–5 weeks, stock 20–22 birds/m²; for broilers aged 0–6 weeks, stock 12–15 birds/m².
8. Timely Debeaking and Scientific Disease Prevention
To prevent vices like feather/toe/vent pecking, debeak during brooding, ideally at 9–10 days. Add electrolyte multivitamins or vitamin K to drinking water one day prior to minimize bleeding. Remove 1/2 of the upper beak and 1/3 of the lower beak using an electric debeaker, where heat aids hemostasis and disinfection. For 2 days post-debeaking, increase feed depth to 3–4 cm to avoid pain from touching hard trough bottoms during feeding. Disease prevention is critical in brooding; establish vaccination and prophylactic medication schedules based on farm conditions. Avoid vaccinating against diseases not prevalent locally; vaccine dosage should not be excessive. Follow a sequence from mild to moderate vaccines, increase doses gradually, prefer single over bivalent/trivalent vaccines, and allow adequate intervals between vaccinations. Prevent parasites, focusing on coccidiosis in chicks; rotate anti-coccidial drugs to avoid resistance.
9. Maintaining Daily Records and Summarizing Experience
For each brooding batch, keep detailed records and conduct systematic analysis post-brooding. Key items include temperature, humidity, lighting duration, ventilation; flock size, mortality/culling numbers and causes; vaccinations, medications administered, etc. Brooding management is a focal point in poultry rearing, holding special significance as the foundation of farming. How well chicks are raised, survival rates, and the ability to produce healthy, robust, high-performance birds are major concerns for every stockperson and are key to successful family or commercial poultry farming. In summary, chick rearing management is a meticulous, scientific task deserving high attention.
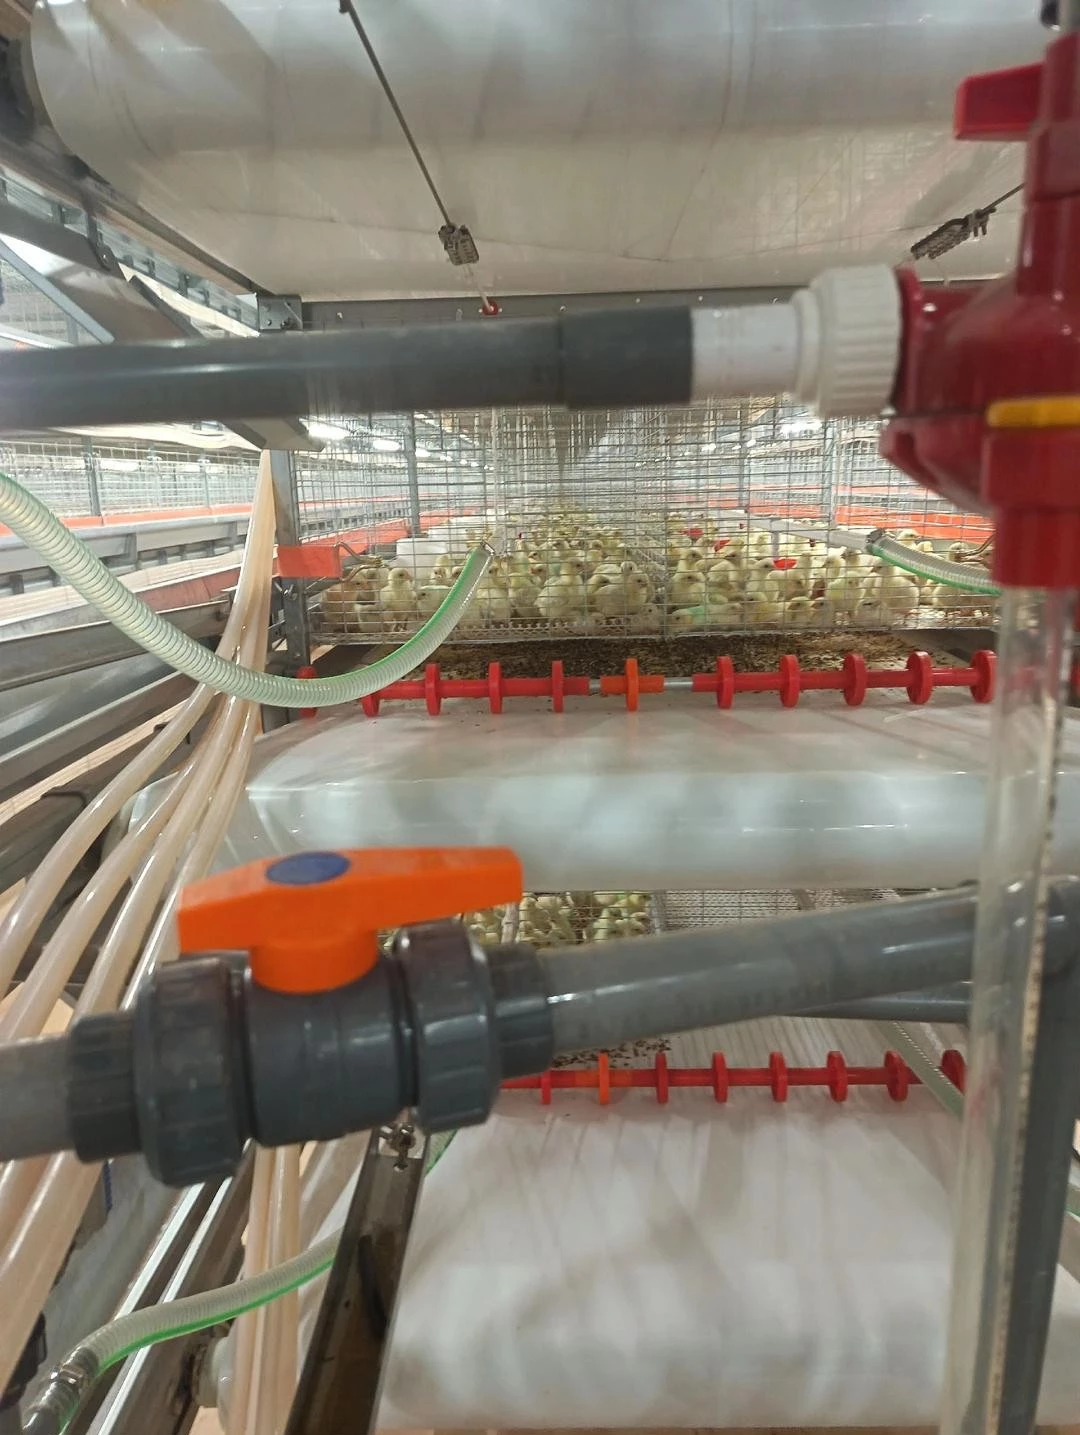
Optimizing Your Operation with a Modern Brooding Cage System
Implementing a well-designed brooding cage system is fundamental to executing the above principles efficiently. A modern brooding cage system enhances temperature uniformity, improves feeding and watering access, and allows for precise management of stocking density—key factors in achieving the high survival rates and uniform growth necessary for a productive laying flock. Investing in the right brooding cage system lays the groundwork for the entire production cycle, impacting everything from animal welfare to your farm’s bottom line.