
How to Master Spring Ventilation in Multi-Tier Brooding Cage System
Ventilation Management for chick in Spring Weather

As breeding scales and equipment continue to upgrade, management concepts and techniques must also evolve. Currently, there are many misconceptions in farm management. Some rely on feel, others lack awareness, and electronic products inherently carry a degree of uncertainty and error. Any mistake can lead to significant losses. Even experienced breeders may struggle with management gaps when scaling up, failing to achieve optimal performance. To help our partners improve on-site management, our technical department, drawing on years of practical experience, has compiled this guide. We’ve systematized methods for controlling house temperature, humidity, and ventilation into a technical reference, aiming to enhance your current breeding management standards.
I. Temperature and Humidity Control
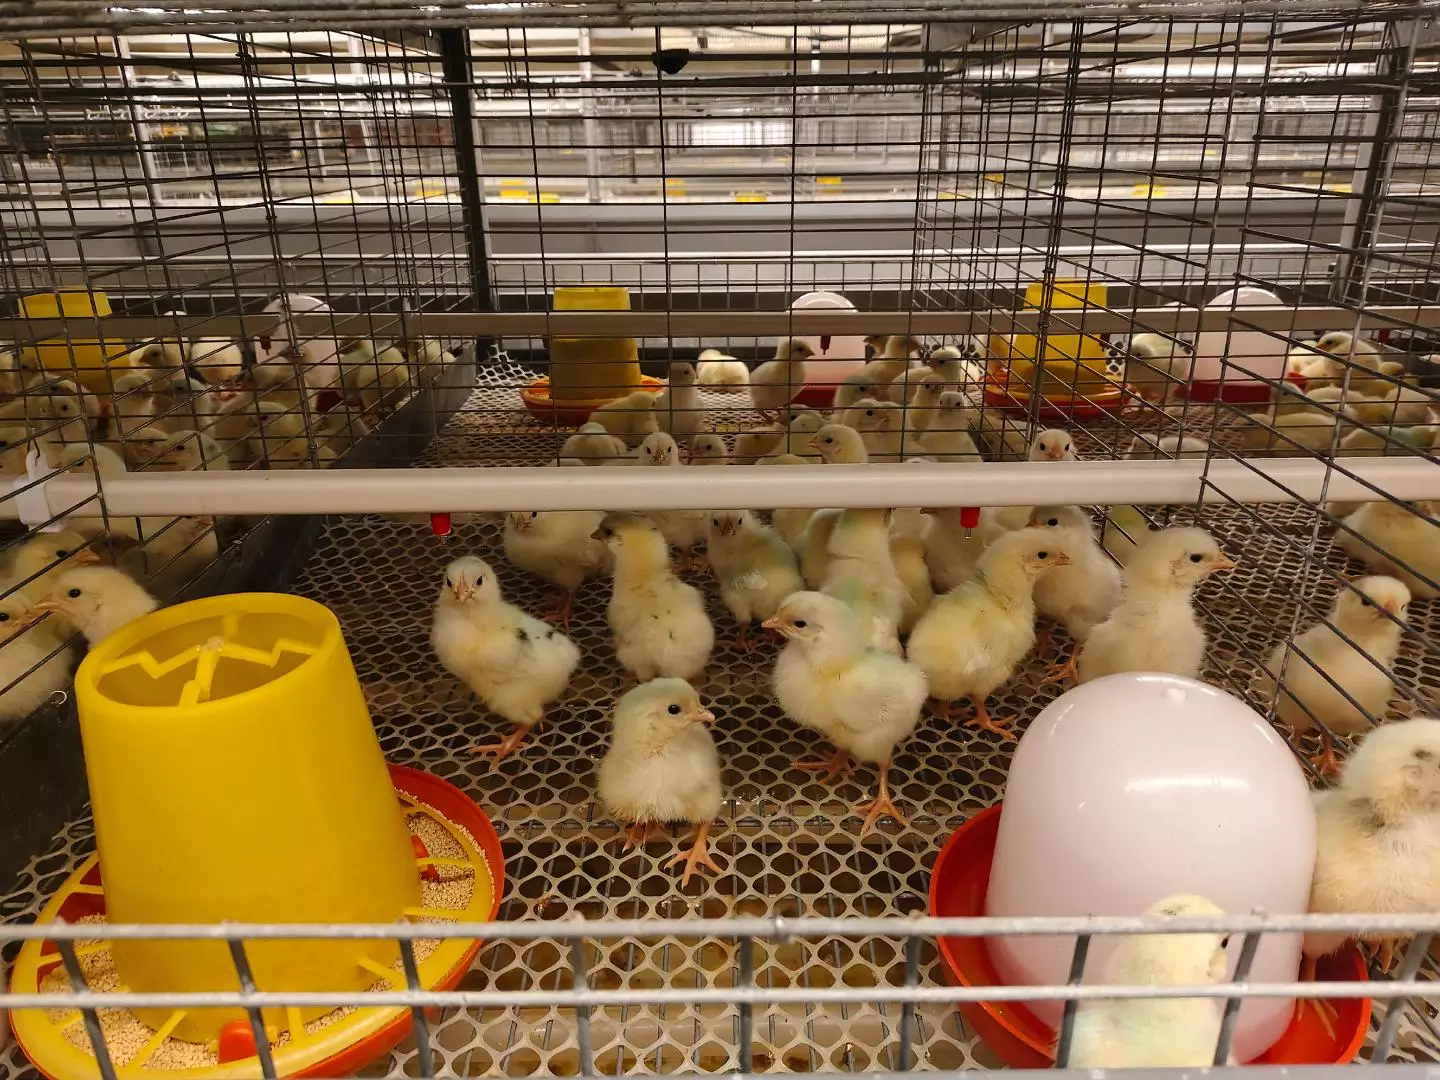
- Thermometer Calibration: As thermometers invariably have some error, their accuracy must be verified before use. We recommend purchasing several stick thermometers and one spare clinical thermometer before each chick placement. Before use, immerse multiple thermometers in a cup of warm water (36–38°C), then add the clinical thermometer. Select the stick thermometer(s) matching the clinical thermometer’s reading for use; discard the others. Place the calibrated thermometers at seven points (front, middle, back, left, right) in the chick placement area. After 30 minutes, check the readings and adjust heating to ensure a temperature differential of ≤1°C across all zones. Compare the environmental controller’s reading with the thermometer readings. If they differ, trust the thermometers and adjust the controller’s calibration accordingly. For example, if the thermometer reads 30°C, the controller shows 32°C, and the boiler indicates 30.5°C, then treat the controller’s 32°C as equivalent to 30°C, applying the necessary offset during use. Two days before chick arrival, heavily spray the house with water or disinfectant—the wetter, the better. This helps achieve a brooding humidity of 65–75%. Hanging two hygrometers in the house is sufficient. Low early humidity can trigger early respiratory issues, so adjust humidification or ventilation promptly as needed during rearing.
II. Temperature and Ventilation Control
Taking a target house temperature of 32°C as an example, set the boiler to maintain 32°C. The boiler activates (heats) when the temperature falls below this setpoint. Exhaust fan operation and inlet size should be determined based on required air exchange volume and negative pressure. First, activate fans based on the calculated air volume (fan specs and quantity require calculation). Then, adjust inlet sizes based on the cold air’s path, aiming for a negative pressure between 13–25 Pa, which is normal. Pressure outside this range is detrimental. The control standard is to ensure incoming cold air mixes with warmer air at the ceiling before descending, preventing direct drafts on the birds. Tying cloth strips to the ceiling helps visualize airflow.
1. Timer-Controlled Air Exchange (Minimum Ventilation)
This method is used when chicks are very young or outside temperatures are very low, to prevent chilling while maintaining an indoor temperature differential within 2°C. It calculates the essential air volume for normal growth based on bird count and body weight, using a timer to cycle 1–2 fans, typically on a 3 or 5-minute cycle.
Example for a 7-day-old broiler house with 26,000 birds:
Air Exchange Requirement = 26,000 birds * 0.200 kg/bird * 0.0155 m³/kg/min = 80 m³/min
Exhaust Fan Capacity = 24,000 m³/h ÷ 60 min * 75% (efficiency) = 300 m³/min (for a 1m fan)
5-minute cycle: On-time = 80 seconds; Off-time = 220 seconds.
Calculation:[(5 min * 80 m³) ÷ 300 m³] * 60 sec = 80 sec ON; (5 * 60) – 80 = 220 sec OFF.
If the indoor temperature differential is too large (local difference >2°C), indicating cold air is descending too quickly in the middle, switch to a 3-minute cycle: On 48 sec, Off 132 sec (same calculation method).
When outside temperatures rise, increasing house temperature, gradually increase exhaust runtime (by 10–20 sec increments). If temperature remains high, the issue may be short ON-time, small inlets, or insufficient fan capacity. When outside temperatures drop (e.g., late night), reduce exhaust volume (by up to one-third) and adjust inlet sizes accordingly. Always make changes gradually to avoid chilling the birds.

2. Temperature-Controlled Ventilation
When birds are older and heating is no longer needed, use the environmental controller to manage large fans for temperature regulation. When the house temperature exceeds the set upper limit by 1°C, activate one or more large fans based on outside conditions to remove excess heat or increase airspeed. In summer, combine with cooling pads. A common approach: If the house setpoint is 28°C, with timer-controlled fans operating between 27–29°C, set the activation temperatures for cooling fans 1, 2, and 3 at 29.5°C, 30.0°C, and 30.5°C, respectively (gradients vary by season—steeper in colder weather). When temperature exceeds 29.5°C, these fans activate sequentially; they shut off when temperature drops to 29°C. Place the temperature probe in a sensitive area. Early in brooding, due to unstable temperatures and larger differentials, temperature-controlled ventilation is best used during the day. Excessive nighttime ventilation can stress the flock, so consider disabling cooling fans 1-3 at night during early rearing, especially within a Brooding Cage System where air distribution is critical.
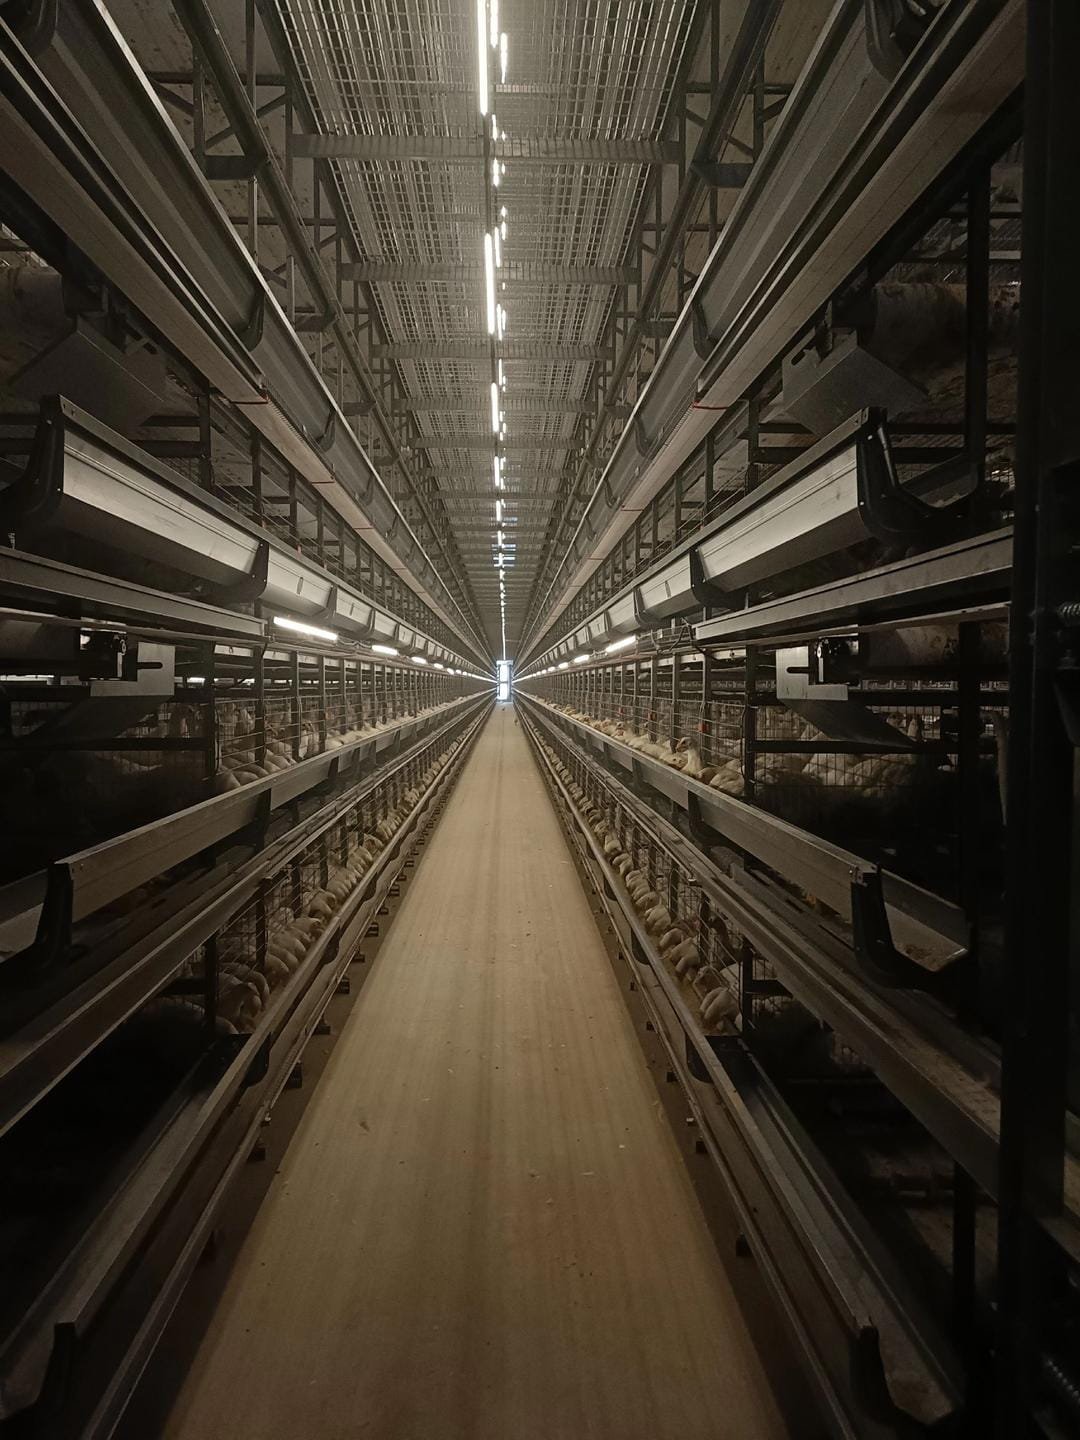
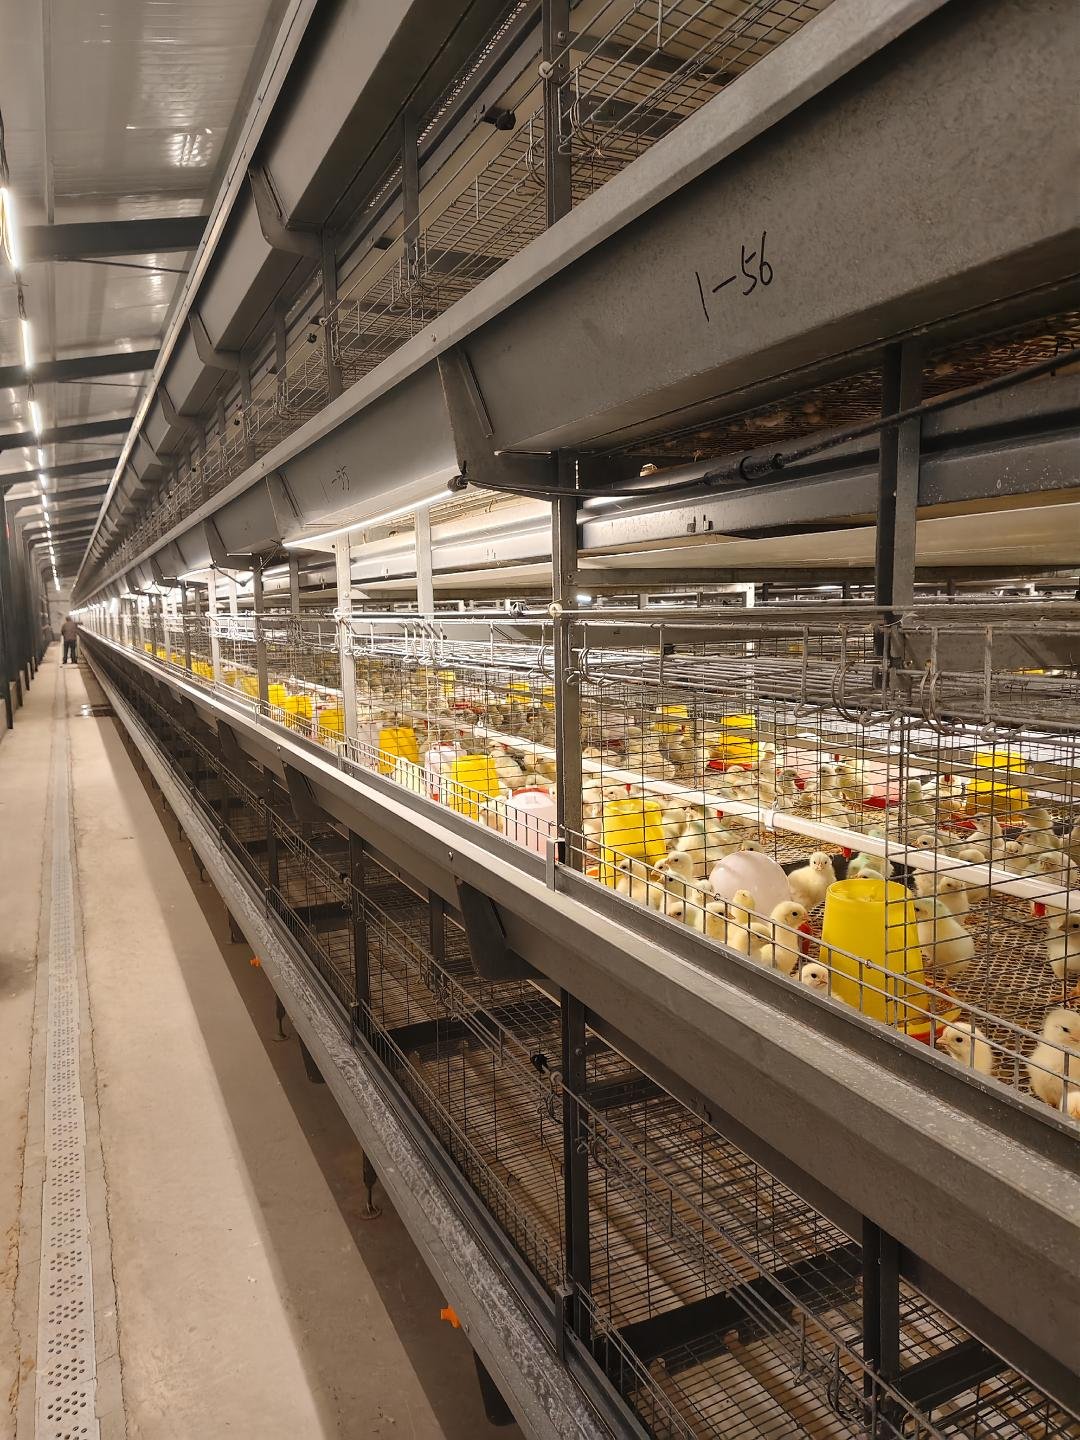
Optimizing for the Brooding Cage System:
- In multi-tier Brooding Cage System, ensuring uniform airflow and temperature across all levels is paramount. Staggered or adjustable inlets help direct air appropriately.
- Monitor conditions at different heights within the cage rows, not just at central walkways.
- Spring weather brings fluctuating temperatures and humidity. The ventilation strategy must be dynamic, seamlessly transitioning between timer-controlled and temperature-controlled modes to prevent stress in the developing flock housed in the Brooding Cage System.